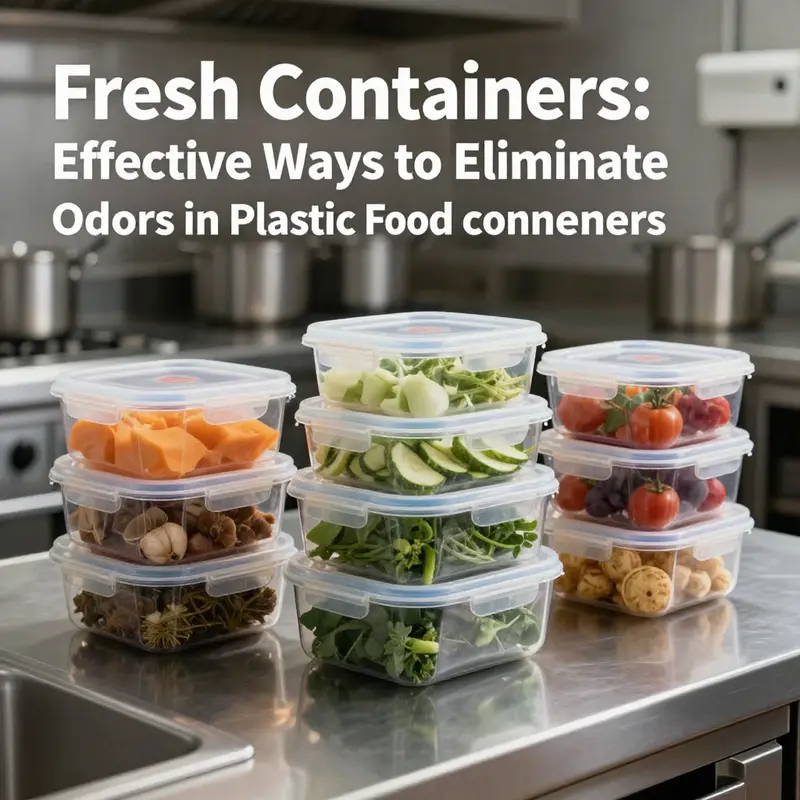
The presence of persistent odors in plastic food containers can not only detract from the quality of fresh ingredients but also affect customer satisfaction in any food-related business. For bubble tea shops, restaurants, food trucks, catering services, and event planners, maintaining a clean workspace is crucial, and that includes odor-free containers. This article will delve into various methods to eliminate odors, focusing on practical solutions involving everyday household items like vinegar and baking soda, the benefits of sunlight, and key indicators for when it’s time to replace old containers. By mastering these techniques, businesses can ensure a pleasant dining experience while promoting hygienic practices.
From Scent to Seal: A Practical Guide to Eradicating Odors in Plastic Food Containers
Odors in plastic food containers tend to accumulate like a small, stubborn residue that refuses to be ignored. They come from a mix of lingering oils, microscopic food particles, and the very nature of some plastics that can trap volatile molecules. The result is an everyday nuisance that can make even freshly rinsed containers carry a faint, persistent reminder of meals past. The good news is that most odors aren’t a sign of danger; they’re a problem with a practical, repeatable fix. By following a simple sequence of steps that blend gentle chemistry with sensible drying and airing, most smells can be banished without risking damage to the containers themselves. The approach relies on three guiding ideas: break down and neutralize, absorb and draw out, and promote the release of trapped molecules through heat and light. When these ideas work in concert, a tired container can feel almost as fresh as new.
Begin with a thorough yet gentle cleansing. Odors cling to tiny grooves that a standard rinse may miss. A bottle brush is a small tool with outsized impact here. Warm water combined with a modest amount of dish soap helps loosen fats and food particles. Pay particular attention to lids, seals, and any threads where the lid connects to the container. A complete rinse afterward removes soap residue, which, if left behind, can interact with odor-causing compounds and complicate future cleaning. This initial step lays the foundation for whichever deodorizing method you choose next. If you continue to notice a faint scent after a single wash, don’t panic; the problem can often be resolved with a little patience and the right, gentle technique.
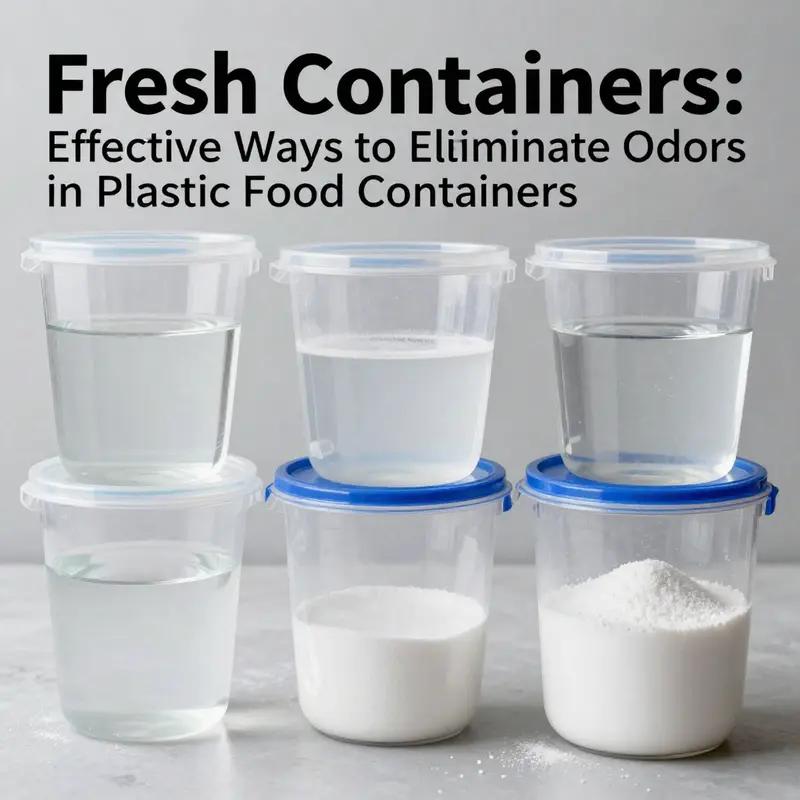
One of the most dependable methods is a baking soda soak. Baking soda’s mild alkalinity makes it effective at neutralizing acidic odors and assisting with oily residues left from meals. To begin, dissolve one to two tablespoons of baking soda in warm water inside the container. Seal the container to keep the solution in contact with the interior surfaces, and let it sit for a minimum of four hours, ideally overnight. After soaking, rinse thoroughly with clean water. For stubborn smells that linger despite a soak, a second tactic can help: sprinkle a small amount of dry baking soda directly into the container and leave it overnight before a final rinse. This approach leverages baking soda’s porous, granular nature to continue absorbing malodorous molecules when ordinary washing alone falls short.
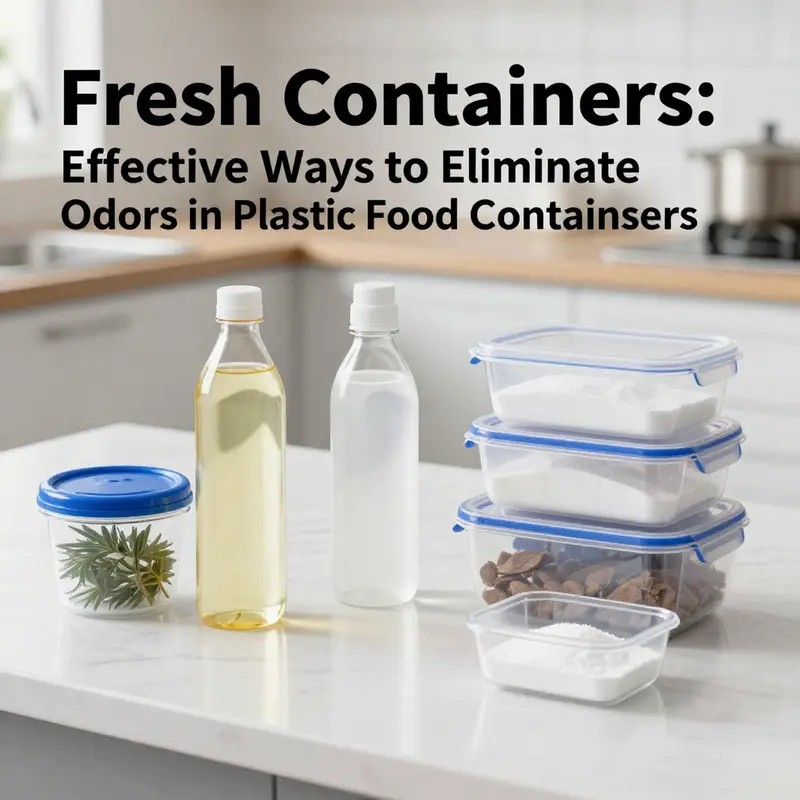
Another reliable option is a white vinegar soak or wipe. The acetic acid in vinegar can break down oily residues and neutralize certain odor compounds by altering their chemical environment. If you have the time, mix a solution in a 1:3 ratio of white vinegar to water and pour it into the container to soak for several hours or overnight. For a quicker approach, dampen a cloth with undiluted vinegar and wipe down the interior, including the lid and seals, focusing on corners where odors tend to hide. After exposure to vinegar, give the container a thorough rinse and allow it to dry completely. The vinegar scent will dissipate as the container dries, leaving behind a neutral, clean smell—provided you don’t rush the drying step.
Odor-absorbing agents offer a different path to clean air inside a container. Activated charcoal, dried tea leaves, or coffee grounds are all effective due to their high surface area and natural porosity. To use them, place a small amount of the chosen absorber inside a clean, dry container (or in a small porous bag that can sit inside). Seal and leave undisturbed for at least 24 hours, ideally longer. The porous material traps odor molecules, reducing their presence when the container is opened again. After the wait, remove the absorbing material and rinse the container. This approach is particularly useful when you want a low-chemical intervention or when odors feel stubborn after traditional washing and soaking.
Sunlight and the natural energy it carries should not be neglected. Direct sunlight delivers heat and ultraviolet light that can help break down lingering organic compounds. After cleaning with soap and water, place an empty, clean container in direct sunlight for several hours, ideally six to eight. Positioning the container with the opening up helps air circulate while the UV and heat do the work of loosening trapped molecules. A note on plastic types: most common food storage plastics used in households are designed to withstand some heat, but it’s wise to ensure the container is not warped or discolored by sun exposure. If the plastic is particularly old or visibly damaged, it may be time to consider replacement rather than repair.
Citrus, specifically lemon, offers both cleaning power and a light, fresh scent. The natural acidity of lemon juice helps dissolve residual grease, and the bright aroma can overpower stale odors in a lasting way. Squeeze the juice of half a lemon into warm water and soak the container for two to three hours. Alternatively, place lemon peels or slices inside the container with some water and let them sit for several hours. The citric acid helps break down residues, and the natural fragrance leaves the container smelling clean. If you prefer, you can combine a lemon soak with a baking soda or vinegar step for an extra boost, but be sure to rinse thoroughly between methods to avoid flavor transfer.
There are times when a smell persists despite diligent cleaning and multiple methods. In those cases, considering the container’s age and condition is prudent. Deep scratches, cracks, or warping can harbor residue that is difficult to remove and odors that reappear with use. If the container is old or the odor repeatedly returns after washing, replacing it may be the most sensible choice. It is not merely a matter of aesthetics; long-term odor persistence can be a sign that the container’s interior has become compromised in a way that cleaning alone cannot fix. In such cases, upgrading to a fresh container can reduce recurring headaches and the chances of cross-contamination between foods. If you decide to explore alternatives, there are packaging options that emphasize different materials and designs, reflecting a broader shift toward safer, more sustainable choices—this context can be found in packaging resources that discuss paper-based solutions.
A broader, practical mindset helps avoid the odor trap in the future. After you finish a meal, rinse promptly and let containers dry completely before stacking or storing. Residual moisture can harbor bacteria and mold that contribute to off smells, so a thorough drying phase is essential. Keeping lids loosely in place while drying can help air circulate into seals and corners that trap moisture. If you store containers with strong-smelling foods, try a quick rinse and a light airing before sealing to minimize cross-odor transfer. Routine maintenance matters; a weekly or biweekly check of lids and seals can prevent stubborn odors from taking hold in the first place. For households that wash containers in a dishwasher, ensure the interior dishwasher environment is not leaving soap residues that cling to plastic. A final, careful air-drying step remains the most reliable guard against residual odors.
The pathway to odor-free containers is iterative and forgiving. It welcomes a blend of methods rather than a single silver bullet. Start with a thorough wash, then assess whether a soak is needed. If odors persist, add an absorbing step, give the container a sunlit airing, or try a citrus-based refresh. Each method has its place, and together they provide a flexible toolkit. The ultimate goal is not to sanitize away a smell but to reduce the presence of odor-causing molecules to a level where the container simply feels fresh. When the container no longer carries forward the scent of yesterday, the nourishment of today can be prepared with confidence, without the lingering reminder of past meals.
For readers seeking a broader overview of guidance on plastic smells and food safety, a respected external resource offers a detailed discussion of safe methods and considerations. See Healthline’s guide on removing plastic smells for a comprehensive exploration of these techniques and the science behind them: https://www.healthline.com/nutrition/5-ways-to-remove-plastic-smell. And as you consider your packaging ecosystem more broadly, you may come across packaging options that emphasize paper-based solutions as alternatives to plastic storage in certain contexts: disposable-octagonal-box-restaurant-food-kraft-paper-packaging.
Vinegar’s Quiet Power: Deodorizing Plastic Food Containers with a Gentle Acidity
Plastic food containers often outlive the meals they once held, and their odors can cling long after the last crumb has vanished. Odors are not merely surface notes; they embed themselves in tiny crevices, microscopic scratches, and porous layers where residues from previous foods linger. When you store garlicky sauces, curries, or fish, those volatile molecules can migrate into the plastic’s texture, setting up shop for days or weeks. That is why simple rinsing sometimes feels insufficient. The practical ally in this domestic chemistry is vinegar. The acetic acid in white vinegar acts as a natural deodorizer. It does not simply mask smells; it helps neutralize the compounds responsible for odors by altering the chemical environment at the surface. When you fill a container with a solution of equal parts white vinegar and water, you invite acetic acid into contact with the residues and micro-areas where odors hide. A soak—lasting several hours or preferably overnight—gives the acid time to interact with the lingering molecules. After the soak, a thorough rinse with clean water is essential. The result is a fresher interior that no longer carries the prior culinary signature. The process is straightforward, but it becomes most effective when paired with a routine that emphasizes distance from residue and moisture alike. The vinegar soak should be part of a larger cleaning rhythm: warm, soapy washing first, with a bottle brush to tackle stubborn bits, followed by the vinegar treatment for deeper odors. This sequential approach ensures you are not relying on a single intervention but building a dependable path back to neutral scent and safe food storage.\n\nVinegar’s appeal lies in its accessibility, affordability, and compatibility with many common container materials. The guidance is simple: fill the container, seal the solution, and let it work. The equal parts ratio—white vinegar and water—balances acidity with practicality. It is strong enough to tackle stubborn odor molecules yet gentle enough to avoid aggressive effects on typical plastics. The soak duration is flexible but meaningful: several hours or, for odors that have become entrenched, overnight. Following the soak, rinsing with water removes residues of acetic acid, leaving the container ready for a fresh start. You may notice a temporary vinegar scent, but it dissipates quickly as the container dries and air circulates. This routine is especially effective when odors stem from residues that simple washing misses or from foods with strong, lingering aromas.\n\nIt is important to temper expectations with an understanding of material safety. Not all plastics react identically to acidic exposure. Some containers carry explicit guidance about soaking or long contact with acidic solutions. Always check the label before a vinegar soak. If the plastic is labeled dishwasher-safe, that does not automatically guarantee it can withstand a vinegar soak at high temperatures; hot water can still degrade polymers over time. When you encounter aging or compromised containers—those with cracks, deep scratches, or a faded surface—the odor may be more deeply embedded. In such cases, vinegar may help, but it is unlikely to fully restore freshness. A careful assessment of the plastic’s condition is essential, because odors can become a reminder that a container’s structure is compromised and that replacement, not repeated treatment, may be the safer option.\n\nThe practical merit of vinegar extends beyond odor removal. It is economical, widely available, and free from synthetic fragrances that can interfere with flavor perception. In contrast to some commercial deodorizers, vinegar provides a straightforward, documented approach to deodorization without adding unknown additives. The underlying chemistry—acetic acid altering the local chemical environment—offers a credible mechanism for odor reduction. In contexts where researchers have tested acetic acid against odor compounds from food contact materials, the findings align with practical kitchen outcomes: vinegar can neutralize odors while preserving the integrity of common plastics when used correctly. For readers who want a deeper dive into the scientific underpinnings, a peer-reviewed study on acetic acid’s role in odor elimination in food-contact materials offers rigorous backing. It provides a controlled view of how acidity interacts with odor molecules and surfaces, enriching the everyday intuition of cooking and cleaning with empirical evidence. You can explore that work to ground your practice in science.\n\nIn daily use, the effectiveness of vinegar is enhanced by how you integrate it into your routine. After an initial wash, if odors still linger, a vinegar soak can be introduced as a more intensive treatment. The key is to avoid jumping directly to harsh cleaners or abrasive scrubbing, which can damage the container’s surface. Gentle handling preserves the plastic’s integrity and reduces the risk of creating micro-scratches that can trap odors more efficiently than before. Once the vinegar soak is complete, a thorough rinse followed by complete drying reduces the chance of any residual moisture supporting microbial growth. Odor-free storage then becomes a matter of habit: clean, dry containers stored with lids loosely in place to allow air exchange, ready for their next task.\n\nAs you adjust to a vinegar-centered deodorizing approach, you may find it helpful to think of odor control as a cycle rather than a single event. Vinegar addresses the chemical side of odors, while a steady routine of washing, drying, and inspecting for damage addresses the physical and structural aspects. If you routinely store robust-smelling foods, you could plan periodic vinegar soaks as part of a maintenance schedule. This proactive stance minimizes the chance that odors will accumulate to a level difficult to reverse. At the same time, be mindful of the container’s age. With older plastics, even well-executed vinegar treatments may not restore pristine condition if the material has wear that creates deeper odor reservoirs. In those instances, replacing the container can be a prudent choice that protects both flavor and safety.\n\nBeyond the kitchen, this approach to odor management reflects a broader ethos of practical, science-informed care. Vinegar serves as a bridge between everyday cleaning and laboratory insight, translating a well-known household staple into a tested method for improving storage hygiene. Its simplicity invites consistent use, and its relative safety makes it accessible to most households. For readers who wish to explore related packaging considerations or see how these concepts connect to other storage solutions, you may consult a related product page that echoes this attention to practical, everyday durability: new-arrival-single-layer-paper-cup-lid-flat-paper-cup-lid.\n\nIn sum, vinegar offers a balanced, evidence-informed path to reclaiming odor-free storage without resorting to aggressive chemicals. Its role in deodorizing plastic containers rests on a straightforward mechanism: acidity helps neutralize and disrupt odor molecules while preserving the container’s structural integrity when used with care. By pairing a vinegar soak with thorough washing, mindful label checks, and complete drying, you set the stage for lasting freshness. If a container’s wear or age suggests that odor entrenchment is unlikely to respond to treatment, consider replacing it rather than pursuing a sequence of diminishing returns. This approach preserves safety, keeps costs reasonable, and aligns with practical kitchen wisdom—an everyday reminder that science and daily life can work together to keep our meals smelling as fresh as they taste. For readers who want to validate these ideas with empirical evidence, a peer-reviewed study on acetic acid’s effectiveness in odor removal from food contact materials provides a robust external reference: https://www.sciencedirect.com/science/article/pii/S096014812300278X.
null
null
Sunlit Renewals: Harnessing Direct UV Exposure to Freshen Odors from Plastic Food Containers
Odors lingering in plastic food containers can feel stubborn, even after a thorough wash. A familiar kitchen ritual—warm, soapy water swirled with a brush—often reduces surface residue and leaves containers looking clean. Yet certain scents cling to walls and tiny surface imperfections where oils and spices settle. Direct sunlight exposure offers a practical, chemical-free ally: UV light can gradually help break down odor compounds, reducing their ability to linger. Use sun exposure as a supplementary step, not a sole remedy, and pair it with thorough cleaning.
The science behind sun powered deodorization rests on the interaction between UV light and volatile compounds that lodge in surface irregularities of plastics such as polypropylene and polycarbonate. While most plastics are not truly porous, small micro-scratches and crevices can trap odors. UV exposure can help by gradually guiding some sulfur containing compounds toward less volatile fragments, diminishing their ability to reenter the air.
This approach is not universal. Prolonged or intense sun can degrade the surface, fade colors, or weaken material. Use direct sun as a targeted, occasional step: place the container in a sunny spot with the lid removed or ajar, ensuring that the interior is accessible to air. A practical window is about 2 to 4 hours in bright sunlight, adjusted for the type of plastic and climate. After the session, inspect for any changes and rewash if needed.
To translate theory into practice, begin with a thorough wash, rinse well, and dry completely. Then set the container on a rack in a sunny location, open and inverted to maximize air contact with interior surfaces. Elevate it slightly to promote circulation around all sides. Use sun sessions in combination with a regular cleaning habit rather than as a substitute for washing.
Be mindful of signs of wear. Some polycarbonates can become slightly more brittle with repeated exposure, and color changes can indicate pigment or dye migration. If you notice cracking, clouding, or warping, stop the sun treatment and revert to washing and odor absorbing steps, or replace the container if odors persist. Odors that cling despite careful washing and sun steps may signal deeper issues such as deep scratches or chemical degradation.
Overall, sunlight can be part of a balanced odor management routine that favors chemical-free strategies when possible and reserves stronger interventions for stubborn smells. After sun exposure, recheck odors and ensure the container is fully dry before storing. If a lid traps scents when closed, wipe both pieces and store pieces separately to reduce reabsorption.
Finally, consider the environment. Outdoors on a bright day is ideal, but avoid dusty or windy settings that can deposit debris. If you need a quick refresher, a brief sun session can be followed by a rinse and dry instead of a longer exposure.
When to Replace Plastic Food Containers Due to Odor Retention
Odors that cling to plastic food containers can feel almost like a small, stubborn companion in the kitchen. Even after thorough washing, a lingering scent can remind you that the container has absorbed more than just your last soup or sandwich. In this chapter, we explore a practical threshold for replacement that goes beyond the urge to deodorize once more. The decision to retire a plastic container is not dramatic in itself, but it is rooted in a straightforward assessment of material integrity, odor persistence, and the safety implications of long-term storage. When a container begins to retain smells despite repeated cleaning, it often signals that the plastic has started to break down at the molecular level. This breakdown can create pathways for residual odors to become trapped within micro-scratches, pores, or faded surfaces, making deodorization increasingly difficult and, potentially, opening the door to other concerns about contaminants leaching into food. The question then becomes not whether you can still wash away the smell, but whether the container remains a reliable, safe vessel for storing meals day after day. The most telling indicators are not merely the scent itself but the combination of wear, odor persistence, and the age of the container. If a plastic container is older than a year and shows signs of wear, the likelihood that it will continue to absorb or release odors rises. Age matters because plastic, over time, can lose its structural resilience. Discoloration, brittleness, warping, and small cracks are more than cosmetic issues; they point to material fatigue that can alter how the container interacts with food oils, spices, and acids. When these signs accompany a stubborn odor, replacement becomes a prudent option. The odors you notice after cleaning are often a hint that the scent molecules have embedded themselves beyond the surface layer. For some odors, particularly those from oils and spice blends or from acidic foods, the molecules can thread into tiny crevices and micro-scratches that are invisible to the naked eye. In such cases, no amount of washing or soaking will guarantee complete deodorization. A container that smells even after a thorough soap-and-water regimen should be evaluated for replacement, especially if the odor recurs with new contents. This is not just about convenience; it is about maintaining a kitchen where the storage of foods remains hygienic and comforting, rather than a source of ongoing olfactory distraction. The practical approach to deciding whether to replace focuses on three pillars: wear signs, odor persistence, and material safety. First, examine the container for visible wear. If it is over a year old, or if you notice discoloration, brittleness, warping, or cracking, these signs should raise a red flag. Each of these symptoms indicates the plastic’s polymeric structure may be degrading. When the container starts to lose its rigidity or its shape no longer returns after being squeezed or dropped, it is more vulnerable to harboring residues and to absorbing odors in the future. Second, assess odor persistence. A clean-looking container that still carries a fragrance after an all-out cleaning effort deserves careful consideration. If you clean with warm soapy water, rinse thoroughly, and even use a new baking soda or vinegar treatment with no lasting improvement, the scent has likely penetrated deeper than one would expect. In such a case, the odds are that the smell will reappear with repeated use, which is a signal to replace rather than persist in deodorizing. Third, weigh the safety implications. Replacing with a container made from a different material—one proven to resist odor uptake and to avoid leaching of potentially harmful additives—often reduces long-term risk. The health dimension is not merely about avoiding a stinky lunch; it is about ensuring that the container does not introduce chemical exposure to your meals over time. With these criteria in mind, the recommended path becomes clearer. If a container is older than a year, exhibits any wear, and still carries odors after rigorous cleaning, it is reasonable to retire it and choose a more durable, safer material. This approach aligns with a broader aim: to minimize the chance that odors reflect deeper compromises in the container’s integrity. When replacement is warranted, it makes sense to upgrade to materials that combine safety with practicality. Food-grade polypropylene (PP) stands out for many households due to its balance of affordability, chemical resistance, and stiffness. Polypropylene tends to resist staining and odor absorption more effectively than basic polystyrene or certain low-cost plastics. Yet even PP has limits, particularly under heavy use or improper cleaning, so it is not a guaranteed shield against future odors. Tritan, a copolyester noted for clarity and resilience, offers greater resistance to odor uptake and temperature swings. Its toughness makes it a favored option for containers that endure frequent washing, dishwasher cycles, and hot contents. Glass presents another compelling alternative, delivering superb odor resistance and inertness. Its non-porous surface does not readily harbor aroma molecules, and it does not leach additives the way some plastics can. The trade-off is fragility and weight; glass containers require careful handling and may not suit every lifestyle. Stainless steel is celebrated for durability and odor control, particularly for households that meal-prep or store hot foods. It is typically non-reactive and not prone to retaining odors, provided that lids and seals are well-designed to prevent moisture intrusion. Silicone, used in some lids and containers, blends flexibility with heat resistance. While silicone can be odor-resistant, its surface can still attract scents if not properly cleaned, so it benefits from thorough care. The choice among these materials depends on how you use containers, how you clean them, and your tolerance for weight, care, and cost. The overarching message remains consistent: if odors persist despite diligent cleaning and the container shows wear, replacing it with a safer, more durable option is a wise investment in daily health and convenience. Health and safety considerations extend beyond odor alone. While a lingering scent is a practical cue to reassess, the longer-term goal is to reduce exposure to potential chemicals that can migrate from damaged plastic into food. This is particularly important for containers used with fatty or acidic foods, where odor molecules may be more readily absorbed and later released. By choosing materials with low or no odor affinity and by ensuring that containers remain in good condition, you reduce the risk that your kitchen storage becomes a source of unwanted exposure. Practical decision-making in this area does not require a rigid rulebook, but it does reward attentiveness. Regularly inspecting containers, especially those that are frequently reused or subjected to high-temperature cleaning, helps you catch early signs of wear. If a container’s memory fails—if it no longer returns to its original shape after a squeeze or if it exhibits micro-cracks—the time to consider replacement is closer at hand. In many households, storing leftovers in one or two reliable, easy-to-clean containers can improve hygiene and reduce the likelihood of odor transfer between different foods. When you decide to replace, you are not merely discarding a single item; you are adopting a more robust storage system that better supports safe, odor-free meal preparation. The guidance provided here is not about fear but about framing a thoughtful, proactive approach to kitchen storage. It recognizes that odors can serve as useful signals about the condition of your containers and that material choice matters for long-term safety. As you evaluate your current stock, let odor persistence paired with visible wear guide your decisions. A one-off stubborn smell may be solvable, but repeating odors across multiple cycles and containers signals a deeper issue that warrants replacement. In the end, the path you choose should align with your cooking habits, your cleaning routines, and your health priorities. If you replace, select materials that have demonstrated odor resistance and safety for repeated use. If you opt to keep a container despite a stubborn odor, expect ongoing deodorizing efforts and the possibility of future replacements. Either route—careful replacement or diligent deodorization—should preserve the integrity of your food storage and support a kitchen environment where meals stay fresh in more ways than one. For a more detailed, safety-focused guide, see University of Illinois Extension’s plastic containers resource: https://extension.illinois.edu/food/safety/plastic-containers
Final thoughts
Effectively managing odors in plastic food containers is crucial for any food service operation. By employing methods utilizing household staples like vinegar and baking soda, harnessing the power of sunlight, and knowing when to replace aged containers, businesses can ensure that their food storage solutions not only keep ingredients fresh but also promote a clean and inviting atmosphere for customers. Implementing these strategies will not only enhance food quality but also contribute to overall operational efficiency and customer satisfaction.