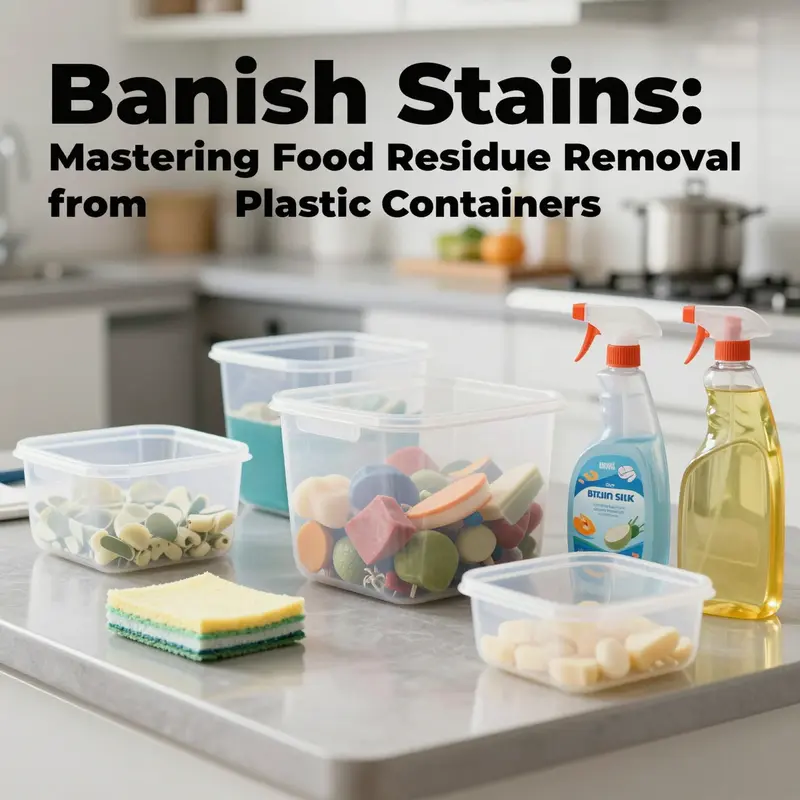
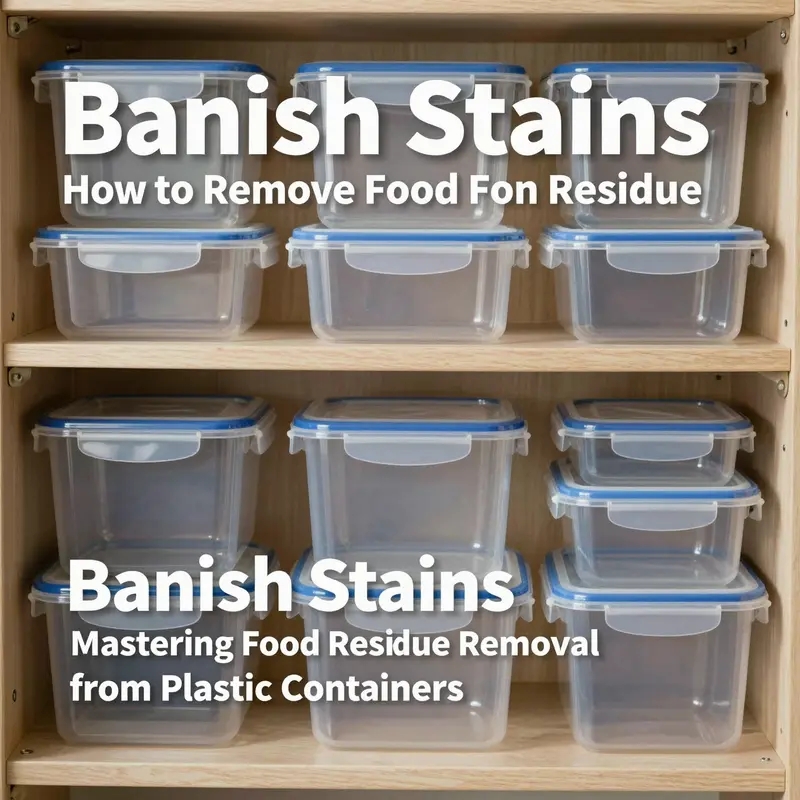
Food residue in plastic containers can become a pesky challenge for establishments like bubble tea shops, restaurants, and catering services. Efficiently removing food particles not only upholds hygiene standards but also preserves the integrity of your containers. In this comprehensive guide, we’ll explore effective techniques, safe chemical considerations, natural solutions, and sustainable maintenance practices that will keep your plastic containers in top shape, thus ensuring a seamless operation in your kitchen or service area.
null
null
Guarding the Matrix: Chemical Realities of Removing Food Residue from Plastic Containers
Removing food residue from plastic containers is rarely just about aesthetics. It is a chemical conversation between what was left behind, what you use to clean it, and what the plastic itself can safely endure. The everyday cleanup routine, if performed with care, protects not only the container’s surface but also the food-contact safety of the contents you store in it. When we zoom into the chemistry, several threads emerge: how cleaning agents interact with plastics, how residue itself can migrate, and how heat and mechanical action can either hasten or hinder that migration. Understanding these threads helps us clean smarter rather than simply scrub harder. It also guides us toward choices that keep containers sound over time, preserving their integrity and minimizing any risk of chemical transfer. In practice, this means recognizing that even mild cleaning steps carry chemical consequences and that the simplest routine—warm water, a gentle detergent, and careful drying—can preserve a container’s barrier against unwanted migration. It also means acknowledging the limits of certain plastics and choosing materials with known resistance to chemical interaction, especially when recurring use, heating, or long-term storage is involved. When we talk about chemical considerations, we are not inviting fear but inviting a disciplined approach to cleaning that respects both science and daily practicality. The conversation starts with the cleaners themselves and what they are capable of doing to plastic surfaces. A common, consumer-friendly practice is to use a mild, food-safe detergent in combination with warm water. This pairing is effective because warm water helps loosen fats and oils that would otherwise cling tenaciously to the interior crevices of a container. Soap molecules emulsify grease, allowing it to be rinsed away rather than smeared into micro-scratches or pores. The gentle action is crucial: abrasive pads can gouge the surface, creating new crevices that trap residues and, over time, expand the surface area where chemical migration can occur. The chemistry here is straightforward but important. Harsh scrubbing can cause microcracks or roughened patches that act as reservoirs for fats, sugars, and acids. Each tiny imperfection increases the contact surface between the plastic and the residue, potentially accelerating any slow, ongoing interactions between the polymer and substances from those residues, especially if the container is repeatedly exposed to heat. This is why the emphasis on warmth over heat is not a preference but a precaution. Heat accelerates molecular motion within the plastic. While this can help residues release, it also heightens the chance that additives or incorporated substances can migrate into the food if the residue remains embedded in tiny cracks or scratched areas. When we consider the cleaning aftermath, thorough rinsing is the next critical step. Even a light soap film can alter the surface chemistry momentarily, and any residue left behind can serve as a bridge for unwanted interactions, particularly if the container is stored while still damp. The practical takeaway is simple: rinse until you can no longer detect soap on the surface, and pay special attention to seams, corners, and any micro-crevices where residue tends to accumulate. In reality, many containers accumulate stubborn films from oils and sauces that have dried into the microtexture of the plastic. To tackle these, a soak can be effective, but here too the chemistry matters. A soak in warm water with a small amount of baking soda or a few drops of mild dish soap can soften and loosen tough residues. Baking soda brings a gentle alkaline environment that helps break down grease and organic matter without introducing harsh chemicals. Yet even so, prolonged exposure to any solution, especially acidic or alkaline ones, can affect plastic over time. This is why the general guidance favors shorter soak times—thirty minutes to a few hours at most—followed by a thorough rinse. The arithmetic of time and concentration is a simple chemical safeguard: the cleaner you use, the shorter the exposure, and the more complete the rinse should be. After clean and clear water has flowed away, the drying phase is not merely about convenience. Moisture can become a haven for microbial growth, particularly in older containers with any micro-scratches or porous areas. Adequate drying, therefore, is a final barrier against microbial proliferation that could complicate the chemical landscape inside a container. Air drying in a well-ventilated area, or placing the container on a rack until completely dry, supports a stable internal environment that does not invite additional chemical reactions as moisture dissipates. Beyond the routine, there are nuanced chemical considerations tied to the very materials of the containers. The vast majority of plastics used for food storage are not created equal when it comes to their chemical resilience. Polypropylene, a common choice for many food-contact plastics, tends to resist many cleaning chemistries well and maintains shape and clarity after repeated use. Polystyrene, by contrast, can be more vulnerable to residual fats and certain solvents, and it may begin to show signs of softening or degradation with harsh cleaners or high heat. Polyvinyl chloride contains phthalates in some formulations and should be approached with caution for direct food contact. Recycled or low-quality plastics may harbor additives whose behavior under cleaning conditions is less predictable. The safe-practice rule is straightforward: whenever there is uncertainty about a plastic’s composition or its aging state, favor containers with known, stable polymer bases and avoid exposing them to aggressive cleaners or high heat. The notion that a container labeled as food-safe automatically implies a permanent shield against chemical migration is a misconception. Migration is a function of time, temperature, residue type, and the plastic’s molecular integrity. The more time a fatty or acidic residue spends in contact with the plastic, the greater the chance that small amounts of additives or degradation products could migrate into the food, even if trace amounts are considered within safety guidelines for new materials. This reality underscores two practical habits. First, clean immediately after use rather than letting residues sit. Quick action reduces the time residue has to interact with the plastic, thereby limiting potential migration pathways. Second, for containers that have visible scratches, discoloration, or a compromised surface, consider replacing them. Damaged surfaces offer more opportunities for residue entrapment and for chemical exchange to take place under storage or reheating conditions. The chemistry of this decision is not dramatic but real: a cracked or scratched surface increases the contact area and can disrupt the polymer matrix, facilitating the movement of small molecules from the plastic into the stored contents. In this light, the cleaning routine becomes a preventive measure, a way to preserve the protective barrier between the container and its contents. A gentle yet deliberate approach to cleaning aligns with the broader principles of food safety and material stewardship. It is worth noting that some common deodorizing techniques can influence the chemical milieu inside a container as well. If an odor lingers after cleaning, a mild deodorizer such as a dilute vinegar solution can help, but it should be used with care. Acids such as vinegar, while effective at neutralizing odors and helping dissolve oily films, can, with repeated exposure, contribute to polymer stress in certain plastics. To balance this, follow a vinegar soak with a thorough rinse and a brief wash with a neutral dish soap, then rinse again and dry completely. For added odor remediation, a natural approach such as using a dry, inert deodorizer like tea leaves can be helpful, provided there is no direct contact with the stored food and the container is thoroughly rinsed afterward. The overarching idea is not to rely on a single method but to sequence steps that minimize chemical exposure while maximizing residue removal. When discussing material safety, it helps to think in terms of material compatibility and cumulative exposure. A container that lasts longer under regular cleaning is one that resists constant assaults from heat, detergents, and abrasive wear. This is why the choice of container material should be guided by the planned use: for hot liquids and repeated dishwasher cycles, a material known for resilience is preferable. For cold storage or short-term use, a broader range of plastics may be acceptable, provided they are kept clean and free from deep scratches. The goal is to maintain a surface that resists trapping grime and resists permanent damage from cleaning agents. The practical outcome of these chemical considerations is clear: adopt a conservative cleaning mindset, avoid extreme temperatures, and treat damaged containers as replacements rather than as risky storage options. If you want a sense of how packaging choices intersect with broader safety considerations, you can explore related material on eco-friendly packaging and safe cleaning practices in this related resource eco-friendly disposable paper cup. As with any comprehensive approach to food safety in plastics, the last mile of cleaning—thorough rinsing, careful drying, and prudent disposal of questionable containers—connects directly to the goal of minimizing chemical migration and maintaining food integrity. For deeper, science-grounded context on how chemical migration can be influenced by heat, residue, and physical wear, consider authoritative literature from public health authorities. A widely cited reference from the China Center for Disease Control and Prevention emphasizes that improper cleaning and prolonged contact with food residues can heighten the potential for chemical transfer from plastic containers. This underscores the need for careful handling, especially when cleaning and storing foods with high fat or acidity content. For readers seeking more detail, this external resource offers a rigorous foundation that complements the practical steps described here and helps frame the everyday tasks within a larger safety framework. See the resource at https://www.chinacdc.cn/ for further reading. In sum, the chemistry of removing food residue from plastic containers is not a contradiction between cleanliness and safety; it is a careful balance that protects both the material and the meals it helps contain. By respecting the limits of different plastics, avoiding aggressive cleaning habits, and prioritizing immediate cleanup and thorough drying, you reinforce a protective barrier against unwanted chemical migration. The insights here aim to turn routine cleanup into a science-based habit, one that supports longer-lasting containers and safer storage over many meals and many months. The result is not a single technique but a disciplined sequence that harmonizes practical kitchen routines with the subtle rules of polymer chemistry, so every stored bite remains as clean and safe as possible.
Natural Solutions for Restoring Cleanliness: A Cohesive Guide to Removing Food Residue from Plastic Containers
When you pause to examine a plastic food container that has seen days of use, the residue inside is more than a stubborn film. It is a living record of what was stored, how long it sat, and the micro-ecosystem that inevitably forms in dim corners and creases. The aim of a thorough clean is not merely a cosmetic wipe but a careful restoration that respects the plastic’s integrity while safeguarding the next reuse. The core idea is simple: use gentle, food-safe methods that break down fats, lift dried particles, and neutralize odors without introducing harsh chemicals or heat abuse that can warp, cloud, or weaken the container over time. The result is not just a clean surface; it is a safer, longer-lasting vessel for future meals. The natural approach outlined here aligns with what many experts advocate for preserving both kitchen health and environmental responsibility. It starts with recognizing residue as a combination of oils, proteins, and aromatics, each with its own adhesive properties and persistence. From there, you work with a sequence of gentle steps that leverage common kitchen staples—things you already keep on hand—yet you apply them with patience and attention to detail. The guiding principle is to treat the container as a delicate instrument rather than a stubborn job to brute-force into submission. In practice, this means loosening the grime with a warm rinse, then inviting mild cleaning agents to do the heavy lifting, and finally setting the container free to dry in a way that discourages lingering moisture and microbial growth. It also means embracing natural odor-control strategies when necessary, so the container remains pleasant to use and free from the faint memories of fish, garlic, or curry long after the last bite has disappeared. The emphasis on safety and sustainability is consistent with the idea that you can achieve remarkable results without resorting to aggressive chemicals or abrasive tools. Scratches, after all, are not just cosmetic; they create micro-niches where odor compounds and bacteria can cling, complicating future cleaning attempts. The narrative here integrates a practical, evidence-informed sequence—soaking, rinsing, and drying—each step tuned to preserve the container’s shape and clarity while delivering a thorough cleanse. This is not a rigid protocol but a flexible approach you can adapt to different plastics, different levels of soiling, and varying odor profiles. It respects materials science and digestive realities of kitchen spaces, meeting both the needs of a busy household and the expectations of a safety-conscious consumer. The result is a reliable framework you can return to again and again, with confidence that you are protecting your foods, your health, and the planet a little better with every careful clean. The methods that follow are rooted in widely accepted guidance and reinforced by practical experience from kitchens, households, and researchers who study how odors and residues behave in porous and semi-porous plastics. In short, you will discover a spectrum of natural avenues—from the gentle lift of baking soda to the refreshing bite of citrus and the absorbing powers of tea or coffee grounds—that can be combined in a thoughtful, repeatable process. You will also learn how to decide when it is time to retire a container that can no longer be cleaned to a standard that keeps future foods safe, especially when scratches, cloudiness, or persistent smells persist despite multiple treatments. The approach is methodical but never daunting; it invites you to view cleaning as a routine that protects both your kitchen and the ecosystems around it. The steps below are presented in a flowing, integrated narrative so you can imagine the process as you perform it, pausing to assess, adjust, and proceed. Begin with a warm pre-rinse to release the most recent particles before they set. Then apply a gentle cleaning agent on a soft sponge, taking care to reach corners, seams, and crevices where residue tends to hide. For stubborn or dried-on residues, a soak with natural agents can soften the work ahead, reducing friction while preserving the container’s surface. Rinsing thoroughly is essential; any soapy film or lingering residue can mask odors and transfer tastes to the next contents. Finally, allow the container to dry completely in a well-ventilated space, ideally in a position that promotes air circulation and evaporation. Optional but beneficial, natural deodorizers can be introduced after the initial cleansing if odors persist, offering a safe and fragrance-free path to freshness. A few practical reminders accompany this process: never use aggressive chemical cleaners, bleach, or industrial solvents on containers intended for food storage. Always check the container’s material label for heat tolerance and dishwasher compatibility, as some plastics have limits that, if exceeded, can warp or leach. If the container becomes cracked, heavily scratched, or discolored, replacing it is a prudent choice, because aging plastic can harbor bacteria and shed microscopic particles even after a meticulous wash. The following natural strategies are presented as proven, complementary options that can be used in combination to address both residue and odor. They are described in a way that emphasizes safety and effectiveness, rather than fastest results, because patience often yields the best long-term outcomes for plastic containers. Each method can be implemented individually or layered with others, depending on the intensity of the challenge. Understanding why these methods work helps you apply them more wisely. Baking soda is a gentle alkaline agent that helps dissolve oils and organic matter. Dissolve one to two tablespoons of baking soda in warm water and submerge the container, allowing a soak of several hours or overnight for persistent grime or odors. After soaking, a soft scrubbing with a sponge or cloth, followed by thorough rinsing, completes the process. The alkalinity of baking soda loosens fats and helps suspend fine particles so they are easier to wash away. Baking soda works particularly well for containers that have housed oily dishes like curries or fried foods, where the residue tends to cling to the inner surfaces. White vinegar presents another natural option, leveraging acetic acid to neutralize odor compounds and assist in removing sticky residues. A 1:3 mixture of vinegar to water is sufficient; fill the container, seal if needed, and give it a gentle swirl to ensure contact with all surfaces. After 30 minutes, rinse thoroughly. This approach is especially effective for stubborn odors, including fishy, garlicky, or fermented notes, and can be useful when odor seems trapped in tight corners or under rims. Lemon juice brings a bright, citrusy edge to cleaning while contributing acidity that helps cut grease. Fresh lemon juice mixed with a little water can soak for 20 to 30 minutes, or you can rub lemon halves across the interior to create a citrus-assisted cleaning action. If you choose to use lemon with salt, you get a mild abrasive paste that can tackle stubborn spots without scratching. Always rinse well afterward to remove any acidic residue that could affect future food flavors. Tea leaves and coffee grounds provide a surprising and gentle adsorption phenomenon. When dried and used, they carry porous structures that trap odors within their matrices. Placing dry tea leaves—especially strong blends like black or oolong—or ground coffee inside a clean container and sealing it overnight can significantly cut pungent notes, particularly those from onions, garlic, and spices. The polyphenols and tannins at work in tea contribute to odor absorption, making this approach a simple, low-cost tactic that also reduces waste by reusing spent leaves or grounds in a small, contained way. Sunlight, when safely used, can help evacuate remaining volatile compounds. After cleaning, placing the container upside down in direct sunlight for several hours allows UV rays to assist in breaking down lingering odors while heat accelerates oil evaporation. This step is best reserved for heat-resistant plastics and in climates where sun exposure is substantial; it should always be balanced with a caution about material stability to avoid warping. The overarching safety tips tie the methods together: use food-grade ingredients, avoid harsh heat or prolonged sunlight on sensitive plastics, and ensure thorough rinsing to prevent taste transfer. If a container exhibits long-standing odor or residue despite multiple treatments, consider retiring it. Aging plastics can leach substances or harbor micro-scratches that harbor microbes, undermining any cleaning effort. The philosophy behind these natural methods is not merely about removing smell or visible grime but about maintaining the container’s integrity and ensuring it remains a safe vessel for future meals. The beauty of this approach rests in its accessibility. Everything mentioned—baking soda, vinegar, lemon, tea, sun—exists in most kitchens, and each can be employed with minimal risk when used as directed. You can start with a single method and observe results, then decide whether to layer a second or third technique to tackle stubborn residues or odors. The versatility is useful in households that reuse containers daily or weekly, where a routine can become almost second nature. In considering the environmental dimension, these natural methods align with broader goals of reducing chemical exposure in the home and diminishing reliance on synthetic cleansers. They are gentle on plastic, require no special equipment, and fit neatly into routines that emphasize food safety and sustainability. A final reflective note centers on something fundamental: the container is a tool for nourishment, not a problem to be endured. When approached with care, it rewards your attention with reliable performance, odor-free storage, and a sense of stewardship toward your kitchen environment. If you ever doubt the value of taking a little extra time to clean with patience and purpose, remind yourself that each cycle of washing protects your meals, your family, and the materials you rely on, and that small, consistent habits compound into lasting benefits. For those who want a concise reference point, the principle of layering gentle, natural treatments—soaking, rinsing, and drying—offers a repeatable rhythm you can apply to any plastic container, regardless of shape or size. While the exact duration of a soak may vary with the type of residue and the container’s material, the underlying logic remains steady: break the bond that grime forms, rinse thoroughly until nothing remains, and dry in a way that discourages residual moisture. In this light, natural cleaning becomes not a compromise but a practical standard for a modern kitchen that seeks both safety and simplicity. External resources can further illuminate the science behind odor removal and plastic safety, enriching the practical steps presented here. For a broader perspective on natural odor removal and safe practices, see the Harvard Health Publishing guidance on removing odors from plastic containers naturally. https://www.health.harvard.edu/staying-healthy/how-to-remove-odors-from-plastic-containers-naturally
Preserving Cleanliness and Longevity: A Thoughtful Guide to Removing Food Residue from Plastic Containers Safely and Sustainably
Every kitchen keeps a small army of plastic containers that cradle soups, sauces, and school lunches. When a stubborn smear lingers after the last bite, it may seem like a minor nuisance. Yet the way we clean these vessels matters as much as the contents we store in them. Cleaning is not merely about aesthetics; it is a safeguard for health, a maintenance practice for the container, and a contributor to sustainability. A thoughtful approach acknowledges that plastic is a material with limits and strengths. It resists staining and odors better when residue is treated promptly and gently. It can, over time, shed micro particles or leach trace compounds if exposed to harsh cleaners, excessive heat, or rough handling. With that in mind, the path to residue removal begins with a careful sequence of steps that respect both chemistry and practicality, bridging everyday routine with evolving science about how plastics behave in real kitchens.
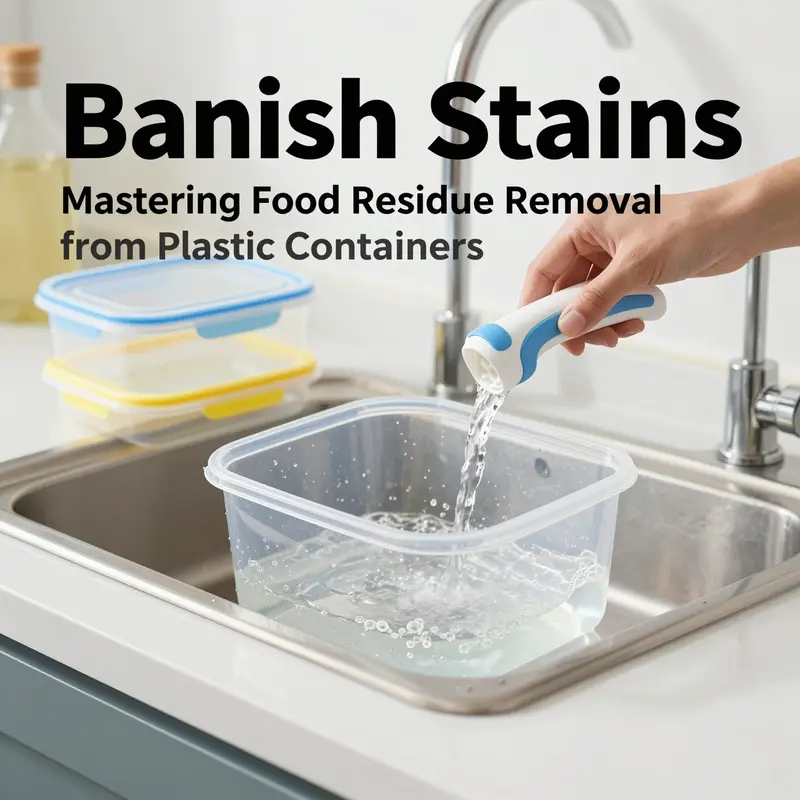
A practical rhythm emerges once we recognize that the first moments after a meal matter. Pre-cleaning with a quick rinse helps prevent the residue from hardening or embedding itself in microscopic pores. Cool water is often the best starting point, especially if the container held oily, acidic, or hot foods. The goal is to interrupt the cling before it becomes a challenge. In the context of plastic, residues can seep into tiny surface irregularities, and delays in cleaning can create microenvironments where bacteria find footholds. A brisk rinse accomplishes two tasks at once: it loosens fats and sugars and reduces the likelihood that those compounds will set into the plastic matrix. While warm water may feel more inviting, it can sometimes encourage certain residues to become more tenacious if they have already begun to dry. The best practice is to begin with cool or lukewarm water and reserve warmer temps for the subsequent cleaning steps when needed.
Following the rinse, a mild, food-safe regimen is essential. Abrasive tools are a temptation in the moment, but they do more harm than good. Steel wool and harsh scouring pads can scratch the surface, creating micro-crevices where bacteria hide and future residue clings. Instead, a soft sponge or cloth paired with a gentle cleaner works wonders. The goal is to lift, not mar. A small amount of neutral dish soap, applied with care, is usually enough to break the bond between the container and the food particles. For more stubborn stains or odors, it helps to have a few proven natural helpers on hand.
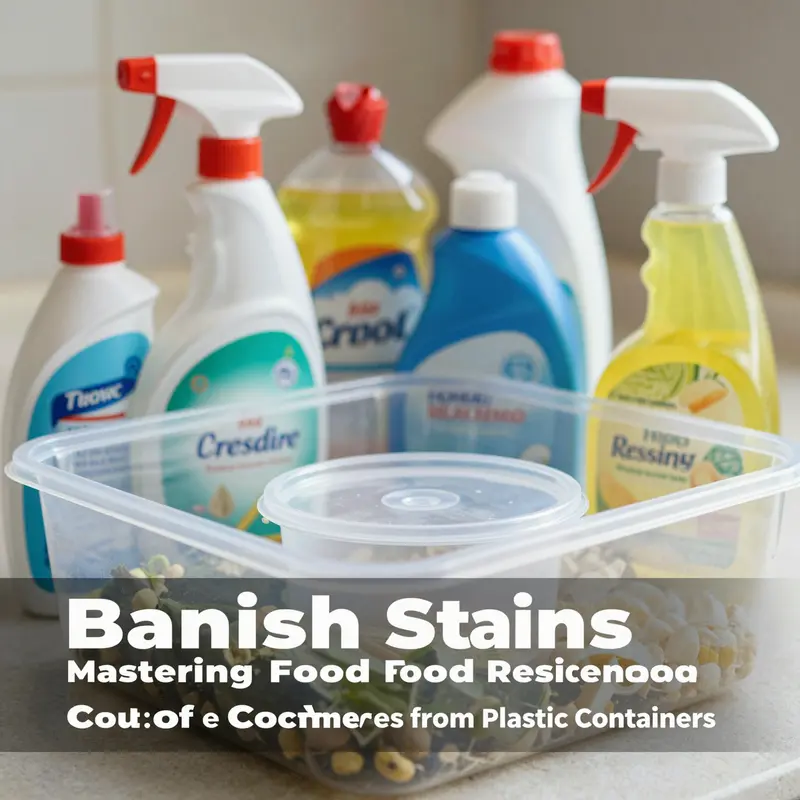
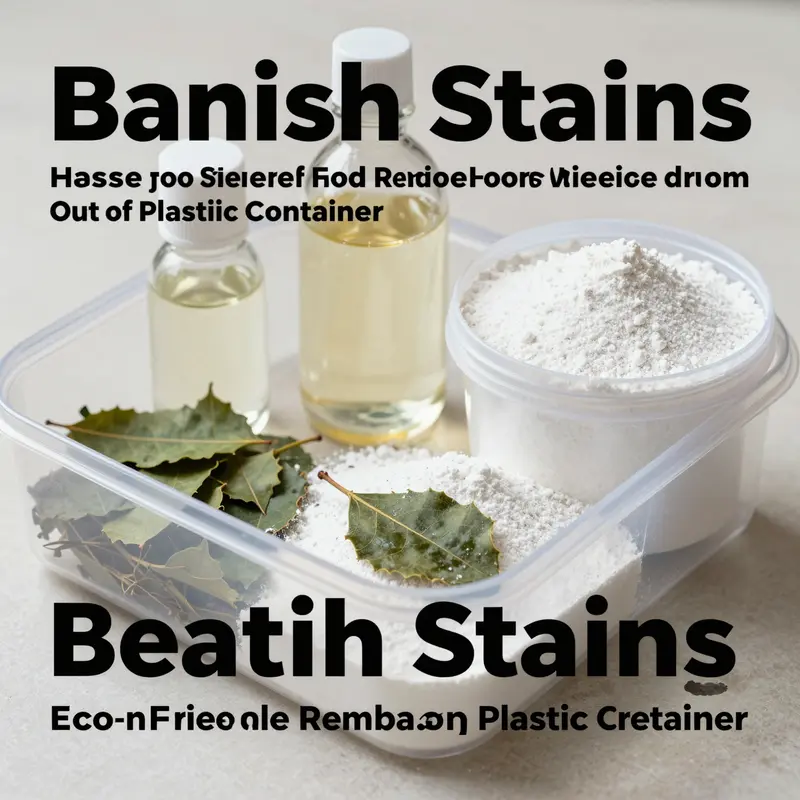
Baking soda, white vinegar, and lemon juice offer a trio of clean, non-toxic options that align with both safety and sustainability. Baking soda is a mild alkali that loosens grease and oils. A paste made from warm water and a spoonful or two of baking soda can be gently scrubbed across the interior surfaces. It is especially effective on oil stains from curry, fried foods, or fatty sauces. White vinegar brings its own strengths. Diluted with water, it serves as an odor neutralizer and residue dissolver. A 1:3 vinegar-to-water soak for 30 to 60 minutes can help dissolve lingering organic matter and wipe away sulfurous smells from fish or garlic. Lemon juice, with its citric acidity and natural antioxidants, serves as a fresh, fragrant option for seals and edges where bacteria like to hide. Fresh lemon slices or juice mixed with warm water can brighten the container while contributing a mild antimicrobial effect. The safety message here is clear: these ingredients are food-grade and generally safe for contact with the container and its contents, provided you rinse thoroughly afterward.
When residues prove stubborn, the next move is a deeper cleaning that respects ventilation and timing. Soaking can be highly effective. For persistent grease or dried-on substances, a longer soak is beneficial. A solution of baking soda or vinegar—typically 1 to 2 tablespoons per liter of warm water—can be left to work overnight or for several hours. The warmth helps accelerate the breakdown of organic matter, while the alkaline or acidic properties of the solution loosen embedded residues. After soaking, a thorough rinse with running water is essential to remove all traces of the cleaner. Soap residue can ship with the final rinse, so it is important to ensure there is no soapy film left on interior corners or lids. A good sign of readiness is a container that looks and smells clean without any lingering traces of the original meal.
Drying completes the cycle. Placing the container upside down on a drying rack or in a well-ventilated area promotes complete evaporation of moisture. Moisture that lingers can foster mold or yeast growth; it can also encourage the shedding of microplastic particles if the plastic has already started to degrade. Drying away from direct heat or strong sunlight protects against warping and material fatigue. In this sense, the drying stage is not merely a routine step but a safeguard for the shape, clarity, and long-term performance of the container.
A word on heat—there is a place for high-temperature treatments, but caution is essential. Boiling water or dishwashers are appropriate only when the container is explicitly labeled as dishwasher-safe and made from heat-resistant plastics such as polypropylene. Even then, avoid prolonged exposure to temperatures over 100°C, as excessive heat can accelerate degradation and microplastic shedding. The safety caveat is simple: never boil non-food-grade plastics or low-quality containers. They may release additives or degrade faster under heat, which defeats the purpose of a clean, safe storage system.
The conversation about cleaning cannot ignore sustainability. Plastic containers often carry the heavy price of energy and resources, and careless cleaning can shorten their life. A balanced approach minimizes waste while protecting health. Limiting long-term storage of oily or acidic foods in plastic helps prevent permeation and stubborn odor transfer. If a container is old, discolored, cracked, or showing brittle edges, it is time to retire it. Damaged plastic can harbor bacteria and may shed microplastics even after cleaning. Replacing aging containers with safer alternatives, when feasible, supports both health and environmental goals. For objects that experience high heat, frequent oil contact, or repeated souring of storage odors, glass or stainless steel can be more robust choices. These materials do not degrade in the same way and do not leach compounds the way some plastics can, especially when used for hot meals or acidic ingredients.
For those who still rely on plastic, keeping residue under control means paying attention to tiny details. Odors often linger even after a thorough wash. An approach that respects both science and the palate uses natural deodorizers in a measured way. Exposing a cleaned container to sunlight for a few hours can aid in odor reduction via UV exposure, but it must be done with restraint to avoid material fatigue. A more controlled deodorizing method involves placing a small sachet or cup of activated charcoal or dry tea leaves inside the container and sealing it for a day or two. The porous structure of charcoal or the aromatic compounds in tea leaves adsorb odor molecules without introducing harsh chemicals. If odors persist, a short, well-ventilated airing period with the lid off can allow volatile compounds to escape gradually.
All of these steps align with a broader sense of responsibility toward our surroundings. When we treat our containers with care, we extend their usable life, reduce the need for frequent replacements, and contribute to a healthier home environment. This is not only about obeying a set of rules; it is about cultivating habits that respect both human health and the ecosystems that sustain us. As science increasingly illuminates how plastics interact with daily life, the message remains practical and hopeful: clean, simple methods can be powerful when they are grounded in non-toxic materials and gentle handling. In that spirit, a thoughtful sequence—rinse, wash with a mild agent, soak when needed, rinse again, and dry fully—offers a reliable path forward.
To connect this practice with broader packaging decisions, consider how the choice of container material affects long-term sustainability. If the goal is to minimize environmental impact while keeping meals safe and convenient, exploring alternatives for certain storage needs can be wise. For a view into safer packaging options within a broader sustainability plan, see this eco-friendly option: eco-friendly-printed-logo-cold-beverage-cup-paper-cup-with-lid. This link points to a packaging approach that aligns with a cautious, low-toxin storage philosophy without sacrificing practicality. It is one of many ways to balance daily convenience with long-term health and environmental aims.
In short, the routine you adopt for removing food residue from plastic containers should feel straightforward, repeatable, and kind to the container itself. The interplay of gentle mechanical action, safe cleaning agents, and mindful drying creates a durable cleaning standard that respects both material limits and household realities. When you rinse promptly, scrub with a soft touch, soak as needed, and dry thoroughly, you build a habit that keeps residues at bay, odors under control, and microplastic release to a minimum. You also preserve the container’s form, clarity, and integrity for years to come. The science supports these practices, and the everyday kitchen confirms their value: safety, simplicity, and sustainability are not mutually exclusive but mutually reinforcing when applied with care.
External resource: for a deeper dive into the science of plastics safety and exposure, see the NIEHS overview of plastics and chemical exposure. https://www.niehs.nih.gov/health/topics/agents/plastics/index.cfm
Final thoughts
Effective cleaning of plastic containers is essential for any food-related business, ensuring compliance with hygiene standards while prolonging the life of your containers. By employing these cleaning techniques, considering safe chemical options, exploring natural cleaning methods, and maintaining your containers sustainably, you contribute not only to a safe food environment but also to a greener planet. Implement these practices today for a cleaner, more efficient operation.